Thursday, January 29, 2015

Reflection of Cubical Journey

MY CUBE:
It is important to note that the pieces did not fit as perfectly as i had envisioned. There was even two who I i had to sand down significantly to assure they interlocked properly.

Let us now take a look at the print cad drawings:
Using Inventor to make these was interesting. 

I asked seven people to solve my puzzle, timing how long they took. Two solved it roughly at the 40 minute mark while the rest gave up and asked me to show them how it the puzzle pieces went. This was a lot of fun, given rough guidelines and materials then being allowed to build something of own own design. At the moment this is all Ms. Leppla asked to be included in the post. I'll update later as needed. 

Hold up! Update haha Alvin solved my puzzle in 2:46 seconds.

Wednesday, January 21, 2015

Progress so far

To begin this blog post....*rains of sparkles* PUZZLE DESIGN PROCESS. Above is the set criteria for this project.
My two cake layer designs:
I do apologize for my 4 year old coloring skills haha. After consulting beloved colleagues (Luv ya Ben and Sasha!) I chose to complete this project using the second design, the crayon pink, orange, red, aqua, and blue cube. Both layouts fit the criteria but the second design included interlocking pieces. 
Shown above are the pieces to be, made out of the cubes provided by Ms. Leppla. Shout out to her too for offering her class to us today, the first day of finals and offering to help in any way we might need :)
Sasha helped give me feed back by taking time to assemble my puzzle. 
 And these are the isometric sketches of my puzzle pieces. 
I would like to call this my Inventor blueprint. 
At the moment, January 21 2015, 8:38 pacific time this is my notable progress thus far. To Inventor!

I'm Back!! (it 9:31 pacific time)
My Inventor puzzle pieces: 
Well, that was fun. I'm starting to feel more comfortable with Inventor...let's hope I don't jinx it. 


Wednesday, January 7, 2015

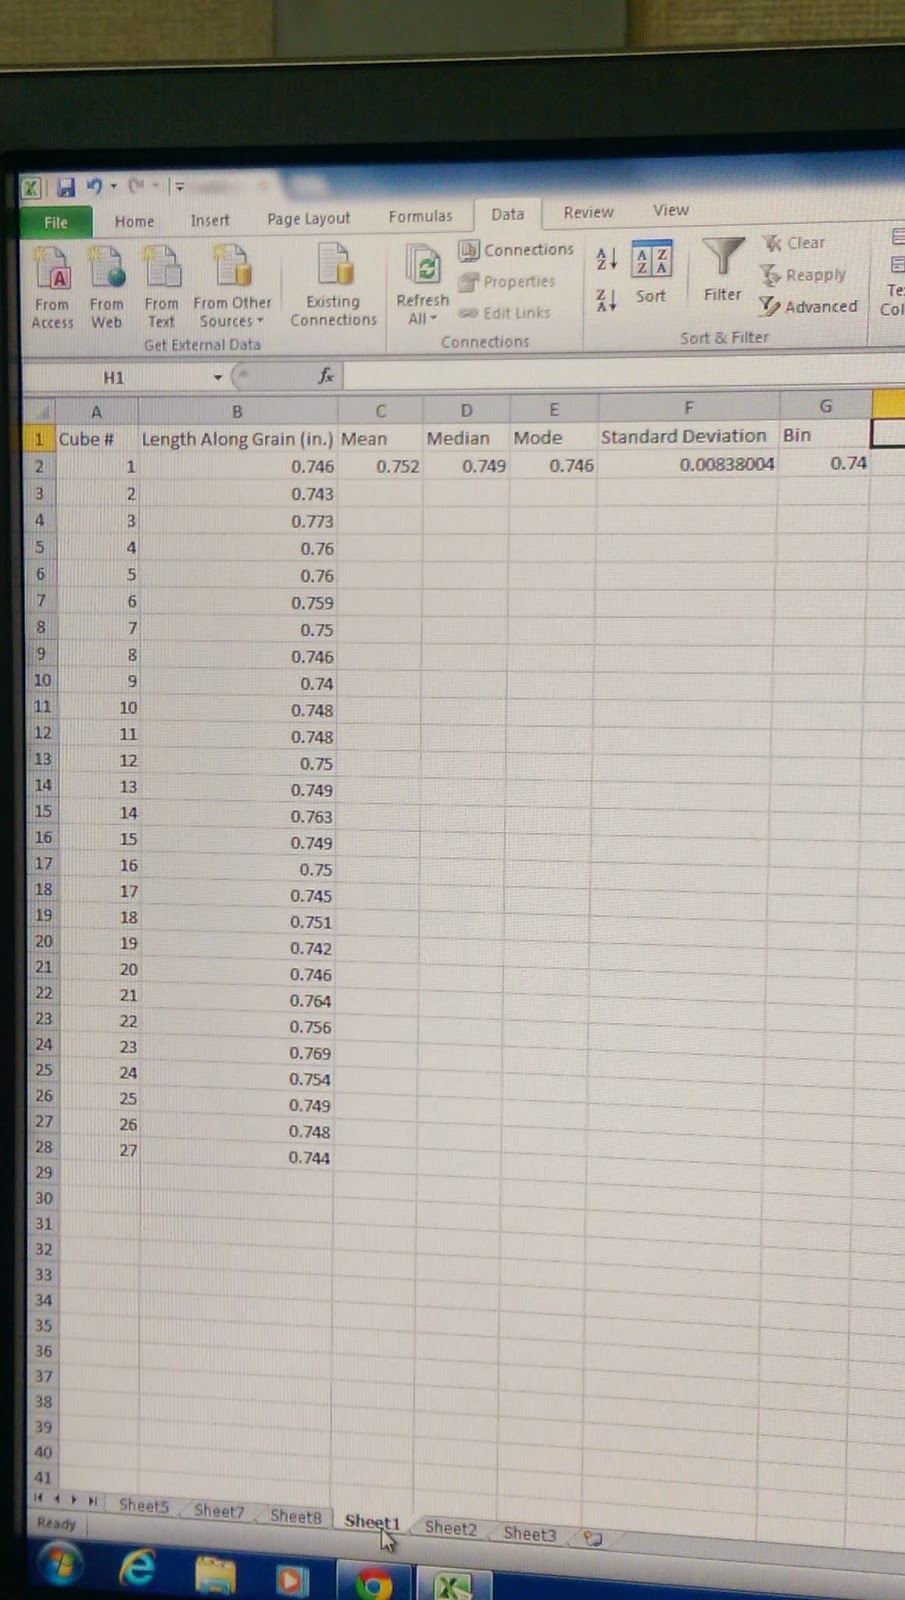
Statistics and Quality


Before break we took the measurements of 27 blocks of wood. We positioned the blocks so that the caliper measured alongside the grain. The numbers were to be as precise as to the thousandth of an inch. Taking the data we then used excel to complete a histogram.  My data does appear to be evenly distributed because the average is present and the outliers as well.

Wednesday, December 17, 2014

Fling Machine

We based our design off a normal slingshot. The balloon "catapulted" the cotton ball. The corks were used for easier handling, they were later covered with aluminum because Archit felt "it is just right." Working with Archit was pretty cool because communicating ideas was easy and we worked off each other's ideas to produce a working fling machine.

Wednesday, December 10, 2014

Measurement Man and Feedback

The making of "Measurement Man: The Movie" was a delight. It tickled my fruit. It was cool working with the following gals: Katy, Sachi, Sacha, Meera, and Sonia. We expressed our creativity in editing this film to the best of our ability and with the time restriction. It was a lot of fun because we had to tackle a boring subject and try to present it in a way that wouldn't make people sleep. A link to the movie may be found on one of the blogs of my teammates.

General Feedback for other groups:
Most did a good job at presenting all the information. Almost everyone did a slideshow but tried to incorporate funny visuals to keep our attention. Haha the bringing back of the dimensional analysis video was just wrong but it was creative. I love everybody, i think i had way too much sugar this morning haha

Tuesday, November 25, 2014

Kaleidoscope Adventure


This was a lot of fun :)
Using mirror pieces, clear tape, painted plastic, sturdy folder, and a hot glue gun we made kaleidoscopes. Above are a couple of pictures of my work. It is important to note that i had redo the end of the scope several times. My first few attempts weren't too successful because there was severe clumping of the colored pieces. I turned to clear tape to fix the problem, by placing the (not so many this time) colored pieces on the sticky side they were kept in place and the above pictures where then taken. I chose the colors gold, lavender, and pink. Gold was an accent and purple and pink look nice together. Another thing to note, most lights didn't do justice to the colors, in my opinion.
colorwheel2.gif (377×377)
I believe it was along the lines of a split complementary scheme.

Friday, November 14, 2014

Color Theory

MY COLOR WHEEL!!!! :D

Monochromatic colors: all the tints, tones, and shades of a given hue.


Analogous colors: colors adjacent to each other on the color wheel.


Complementary colors: a pair of colors that when combine cancel each other out, producing black.


Color triads: colors that are evenly spaced on the color wheel, three to be specific.


Split Complementary: a base color and two colors adjacent to its complement, less tension than above.